The concrete manager
The concrete manager is at the heart of the reinforced concrete beam, column and slab design modules. It presents all of your beams, columns and slab strips in a table and lets you scroll through them, viewing each one as you go. You can also delete beams, columns and slab strips, edit them, generate reports or perform a batch design/check on multiple beams, columns and slab strips.
You can get to the concrete manager by clicking the  button in the top toolbar of the renderer or via its Design menu.
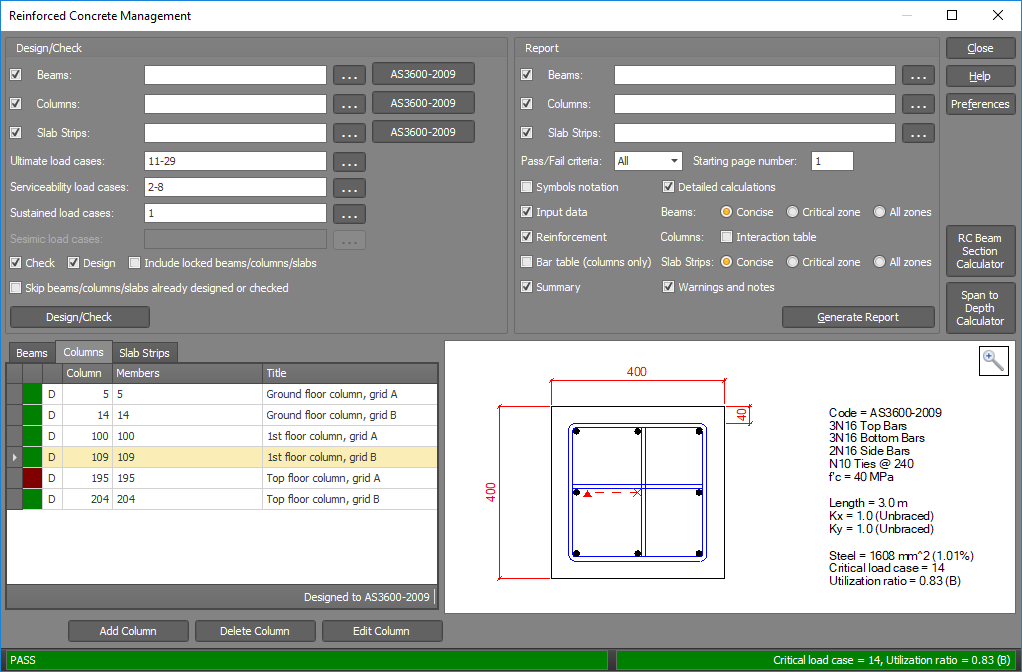
Beams/columns/slabs table
You can click on any beam, column or slab strip in the table to see it in the concrete manager viewer or you can scroll through them by using the up and down arrow keys on your keyboard. You can double-click any item in the table to open it in the editor or alternatively you could use the "Edit..." button at the bottom of the table.
The colored blocks in the first column signify whether the beam, column or slab strip has passed (green), failed (red), passed with a warning (yellow) or has not yet been designed or checked (white). If the colored block contains a small padlock  then it means that the item is locked and cannot be designed unless you unlock it first or tick the "Include locked beams/columns/slabs" option below when
designing in batch mode. By hovering over the colored block for a particular item you can obtain its critical load case, utilization ratio, failure mode (if failed) or warning message (if there is one). Note that any of the colors can be changed via the "Preferences" button.
The second column indicates whether the beam, column or slab strip has been design ("D") or checked ("C"). The remaining columns list the item number, the members involved and the title.
Beams, columns and slab strips can be added or deleted by using the "Add..." or "Delete..." buttons at the bottom. It is recommended that new columns are added by using the procedure explained in "Creating and editing concrete columns" rather than via the "Add..." button here.
Batch design/check
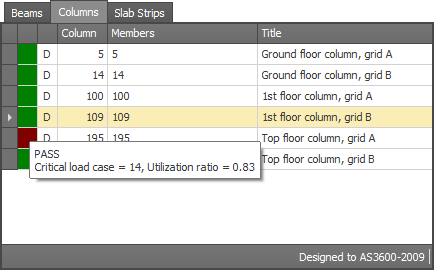
You can use this section of the manager to design or check all of your beams, columns and slab strips or just some of them. This will be required from time to time if your model has been changed and/or re-analysed.
Beams/columns/slabs
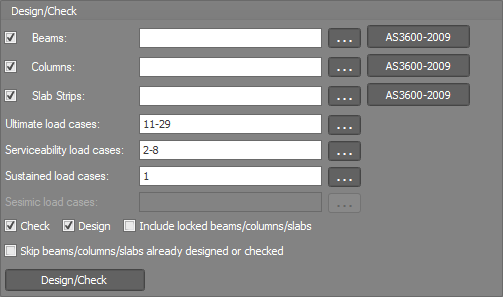
If you want to design/check all items these fields should be left blank, otherwise you should type in your desired list of beams, columns or slab strips (separated by commas or dashes). Alternatively, you can click the "..." button to the right of the input fields and then select the items you want from the list that appears as shown below.
Load cases
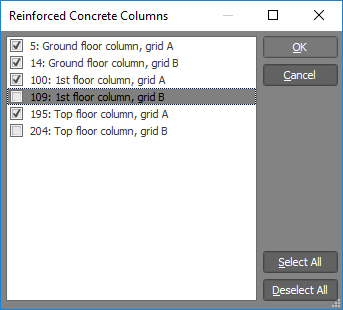
If you want to consider all load cases then this field should be left blank, otherwise you should type in your desired list of load cases (separated by commas or dashes). Alternatively, you can click the "..." button to the right of the input field and then select the load cases you want from the list that appears as shown below.
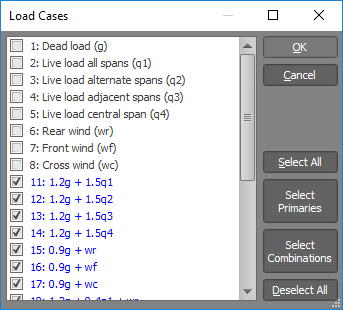
The following options let you decide which beams, columns and slab strips should be checked or designed.

Check
Tick this option if you want the locked items (marked with  in the first column) to be checked. These are the items that have been locked manually via the padlock
button or locked automatically due to changes made to their reinforcement or layers in the editor. They will simply be checked for adequacy and none of their input parameters will be changed. Note that if the "Design" option is unticked then both the locked and unlocked items will be checked.
Design
Tick this option if you want the unlocked items (not marked with  in the first column) to be designed. During the design their reinforcement may be changed if
the model or the design actions have changed since the last design.
Include locked beams/columns/slabs
If you want to override any locked beams, columns or slab strips and design them anyway then you should tick this option. During the batch design/check, all the items encountered that are locked will be designed instead of being checked, however at the end they will be re-locked. Note that any changes you have made to reinforcement or layers will be lost during this process.
Skip beams/columns/slabs already designed or checked
If you have a large number of beams, columns or slab strips in your model, you may be able to save some design/check time by ticking the "Skip..." option shown below to skip the ones that have already been designed or checked.

Reports
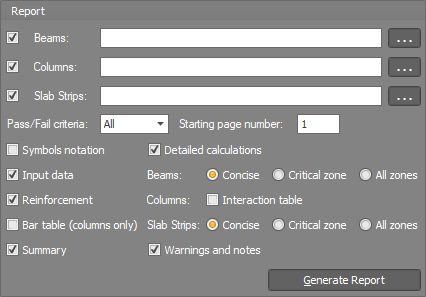
Text reports for multiple beams, columns and slab strips can be generated by filling out the following form and then clicking the "Generate Report" button. Alternatively, you can click the "Report" button in the editor to obtain a report (including a graphical representation of the beam, column or slab strip) for the item currently in the editor. You can also obtain text reports via the normal SPACE GASS report generator in the non-renderer window.
Exporting and importing
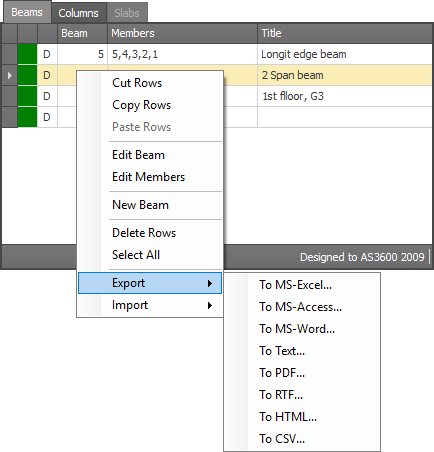
Beam, column and slab data can be exported to various file formats including MS-Excel and MS-Access. You can also import from MS-Excel and MS-Access.
To export from the table you should select all of the items to be exported, click the right mouse button, select "Export" and then choose the desired export format. To import, just click the right mouse button and choose "Import".
Note that the data being exported/imported is limited to the beam/column/slab strip number, the associated member numbers and the title. None of the detailed data is included. This means that any changes you have made to a beam, column or slab strip will not be included in the exported file and will be lost if you then re-import the file. For designed beams, columns and slab strips however, once you import the data and re-design the items, all of the detailed data will be reinstated.
Preferences
The "Preferences" button lets you change various beam, column and slab parameters and colors. For more information refer to "Concrete column preferences".